

Eight Steps to Renting a Storage Unit From Your Couch
What if you could rent a storage unit without changing out of your pajamas? With Storelocal, it’s possible to choose a storage facility, find the perfect storage unit and actually rent a storage unit online. There’s no reason to leave your couch.
If you need self storage for a move or just as a repository for that extra clutter that’s taking up space in your home, renting a storage unit is probably at the top of your to-do list. Cross that item off by opening up your laptop or grabbing your smartphone and following these eight steps. In less than the time it takes to watch an episode of a TV show on Netflix, you’ll have a storage unit.
Step One: Browse Storage Facilities in Your Area
Location, location, location. That just might be the most important factor to consider when choosing a storage facility. Start by entering your zip code into Storelocal’s storage finder and check out your options.
Step Two: Read Reviews
Storelocal integrates real reviews from Yelp and Google to help you choose the best storage facility. Take a few minutes to browse these reviews. Do people praise the facility’s great customer service and excellent security or do they bemoan the fact that the office hours aren’t ideal? Consider your needs when reading reviews.
Step Three: Look at Size Guide Videos
Not sure what size storage unit you need? Check out our size guide videos to get an idea of what you need. It helps to have an idea of what items you’ll be storing, but knowing whether you need a spare closet or a whole room’s worth of space is a good starting point.
Step Four: Decide What Features You Need
Climate control? Drive-up access? Deliveries accepted? These days, storage facilities offer a whole lot more than just a place for your stuff. Take a look at the various features a storage facility offers and consider what you’re storing to determine what you need. If you’re storing something special, like a wine collection or a jet ski, don’t skip this step. And if you have questions, check out our blog posts or give the storage facility a call.
Step Five: Sign Your Lease
After choosing your storage unit online, you’ll actually be able to sign your lease agreement online too. That means no paperwork and no need to drive to the facility until you actually need to. Yes, we know, lease agreements don’t make for a compelling read. Here’s a cheat sheet to understanding a self storage lease agreement.
Step Six: Choose Insurance
Self storage insurance is required at most storage facilities. It’s very, very low cost (usually around $10 a month) and is a great way to protect your items from damage.
Step Seven: Choose Extras
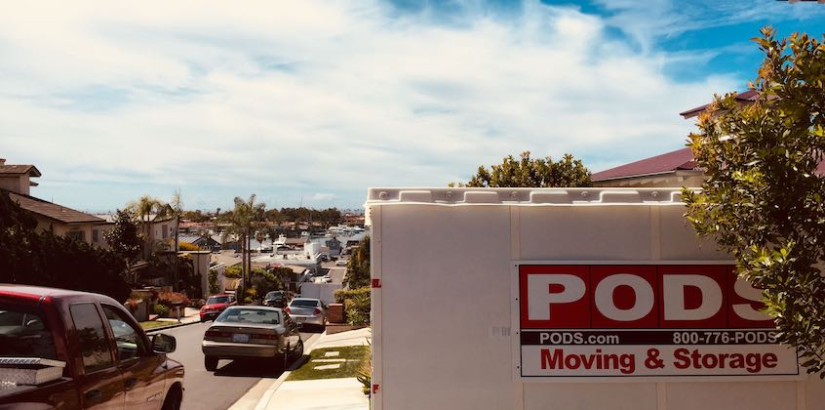
Some storage facilities will offer you the option of enrolling in autopay, or adding on extras like a lock, a moving truck or other things you might need to make moving and storing easier. Take a look at these options and see if any of them are helpful to you.
Step Eight: Move In!
That’s it. Once you’ve chosen a facility, a unit and filled out all of the paperwork online, you’ll receive confirmation by email that will include the date that your lease begins. Now all that’s left is to move in—on your schedule.

